

Do you want to know how to add text to photo on iPhone? Of course, there are time-consuming and difficult ways to do it but we are here to provide you with the simplest of ways to text overlay on iPhone.
While the iPhone offers a built-in way to do this, most users quickly realize that adding text is easy but making it look good is another matter entirely. Scroll down and find out how to add text to a photo on iPhone along with how to create visually appealing results that feel intentional rather than basic.
Whether you want quick edits or more polished designs, understanding the right approach makes all the difference.
How to Add Text to Photos on iPhone Using Apple’s Built-In Tool
The fastest way to add text to a photo on iPhone is by using the default Photos app. This method is straightforward and does not require installing any additional apps.
To begin:
- Open the Photos app and select the image you want to edit
- Tap on “Edit” in the top-right corner, then choose the markup tool.
- From there, tap the plus icon and select “Text.”
- A text box will appear on your image, which will allow you to type, resize, and move it as needed.
This method directly answers common searches such as how can I add text to a photo on iPhone and how do I add text to a photo on iPhone without an app. It is quick, accessible, and works well for basic needs.
However, while this approach is convenient, it has limitations that become obvious as soon as you try to create something more visually refined.
Limitations of the iPhone Markup Tool
Although the built-in option is useful for simple edits, it falls short when it comes to design quality. Many users searching for how to add text to photos on iPhone and make it look good quickly discover that the default tool lacks flexibility.
The main issue is the lack of customization. There are limited font choices and the user has little control over the outcome. Another major limitation is the absence of layering. The text is always placed on top of the image, which can make it appear disconnected from the subject.
For users looking up how to add text on photo iPhone professionally, this becomes a clear drawback. This doesn’t mean you can’t experiment and create aesthetic pictures anymore. With the help of third party apps like Blend, you can easily add text to picture in no time.
How to Add Text to Photos on iPhone Using Blend
Unlike basic editing tools, it gives you more control over fonts, styling, and placement, helping you create cleaner and more professional results.
Step 1: Go to the “Add Text on Photo” Option
Start by opening BlendNow and selecting the “Add Text on Photo” option. This is where you begin the process of adding text to a photo on iPhone with more flexibility than the default Photos app.
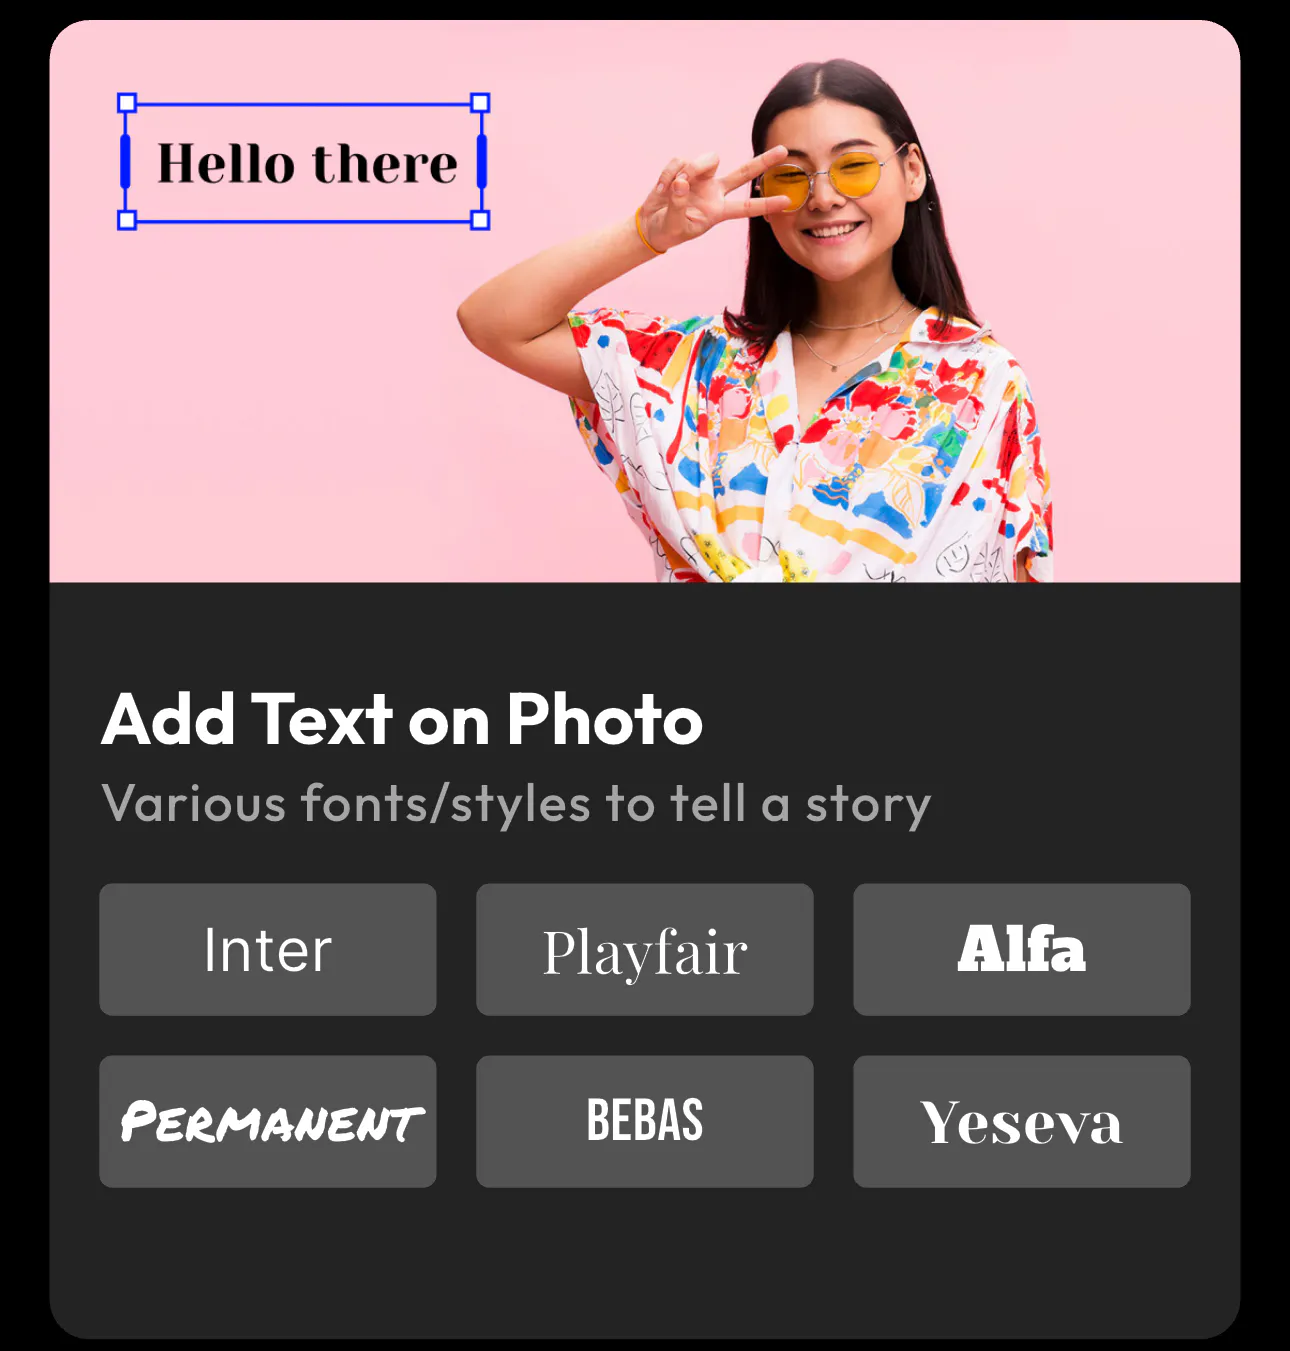
Once inside, you will see an interface that allows you to upload your image and immediately start editing. After uploading, the platform provides multiple font styles such as Inter, Playfair, Bebas, and several others. This gives you far more creative control compared to the limited options available in iPhone’s built-in markup tool.
At this stage, you are essentially setting up your workspace. This step is important for users searching for how to add text to a photo on iPhone professionally, because choosing the right tool determines how good your final result will look.
Step 2: Type and Customize Your Text
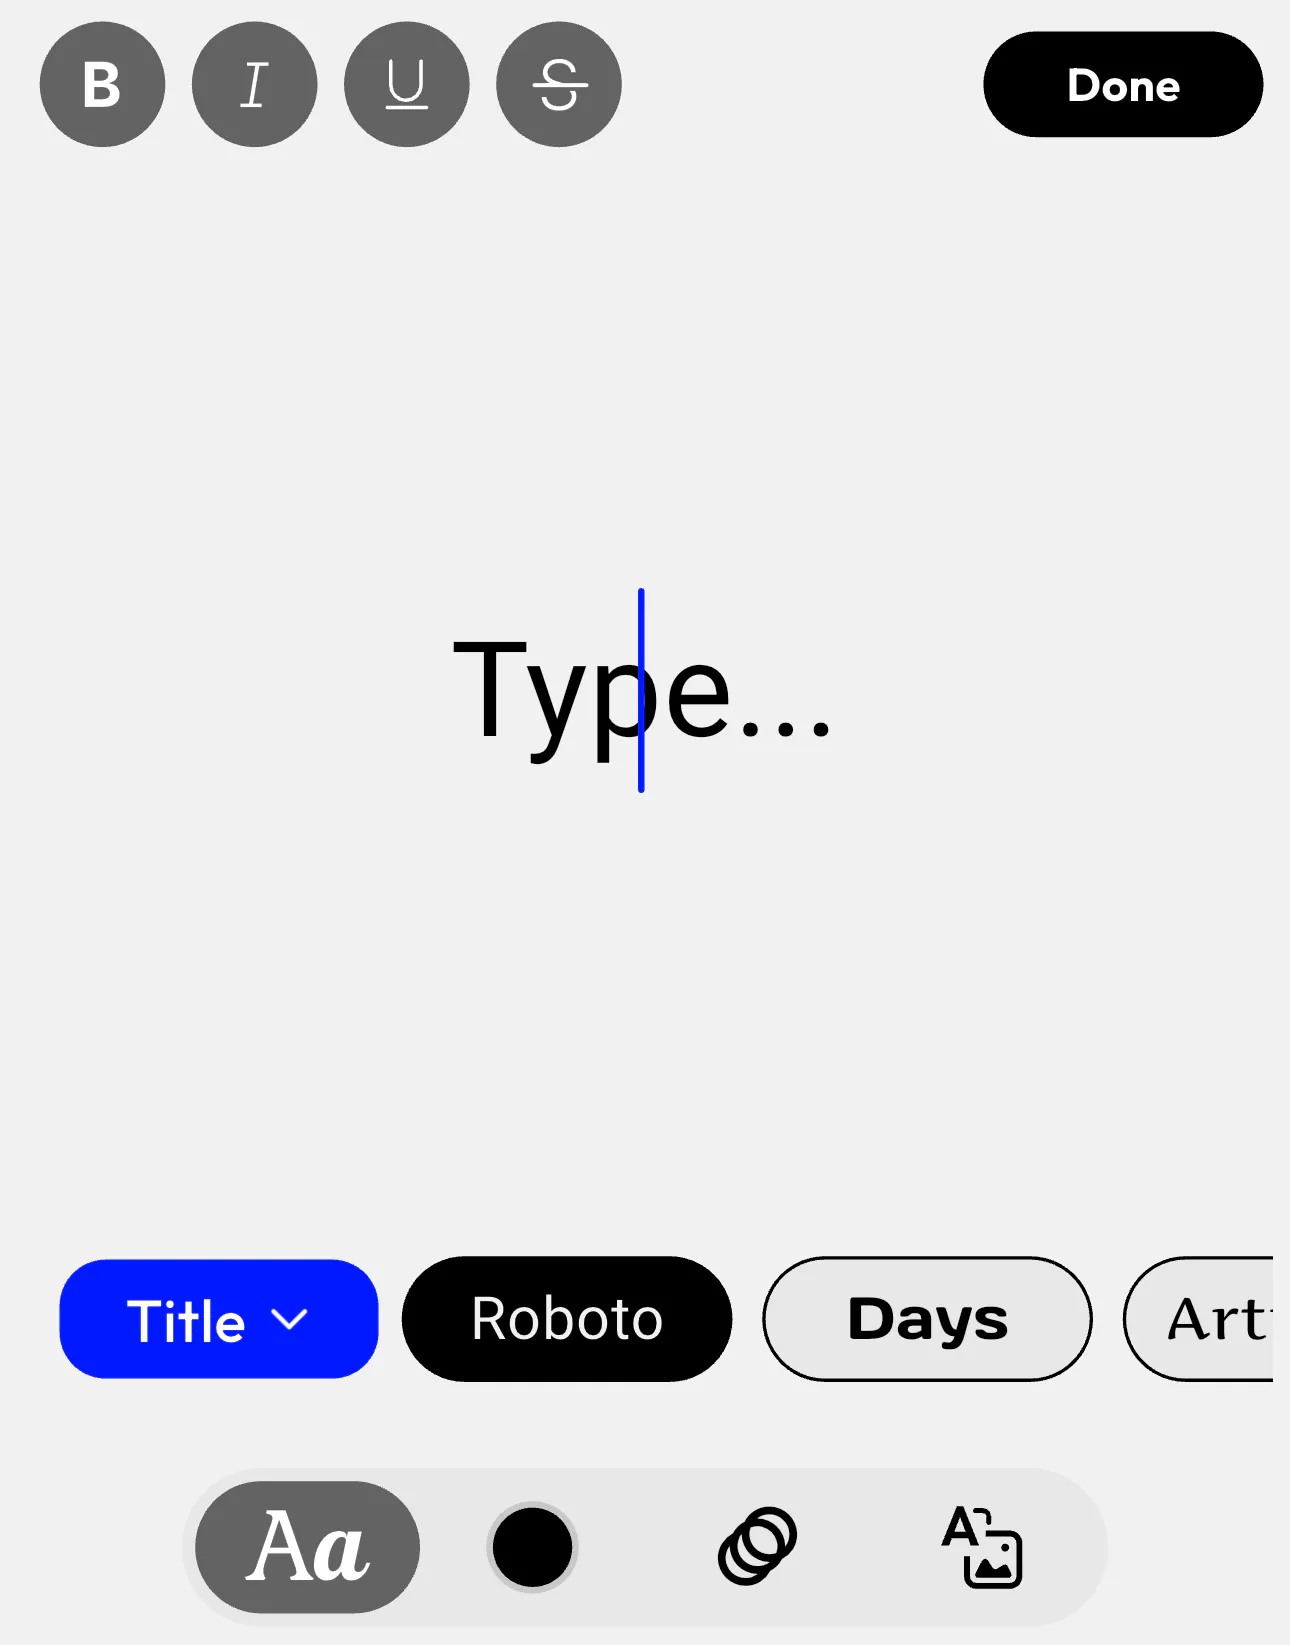
After selecting your image, tap on the text area and begin typing your content. You will see a text cursor appear (as shown in the reference), allowing you to enter and edit your text easily.
Once your text is added, you can customize it using several options:
- Change the font style (e.g., Roboto, Playfair, or Bebas)
- Adjust size, alignment, and spacing
- Apply formatting like bold, italic, or underline
- Modify colors to improve contrast and readability
This step is where most of the design happens. It directly answers queries like how do I add text to photos on iPhone and make it look good and how to add text on photo iPhone with better styling.
Instead of simply placing text on top of your image, you can refine how it looks and how it fits into the overall composition. If needed, you can also position the text strategically to avoid covering important parts of the image.
Step 3: Customize Your Text for a Professional Look
Once your text is added, you can customize it using multiple options to improve both design and readability. These features help answer queries like how to add text to photos on iPhone and make it look professional.
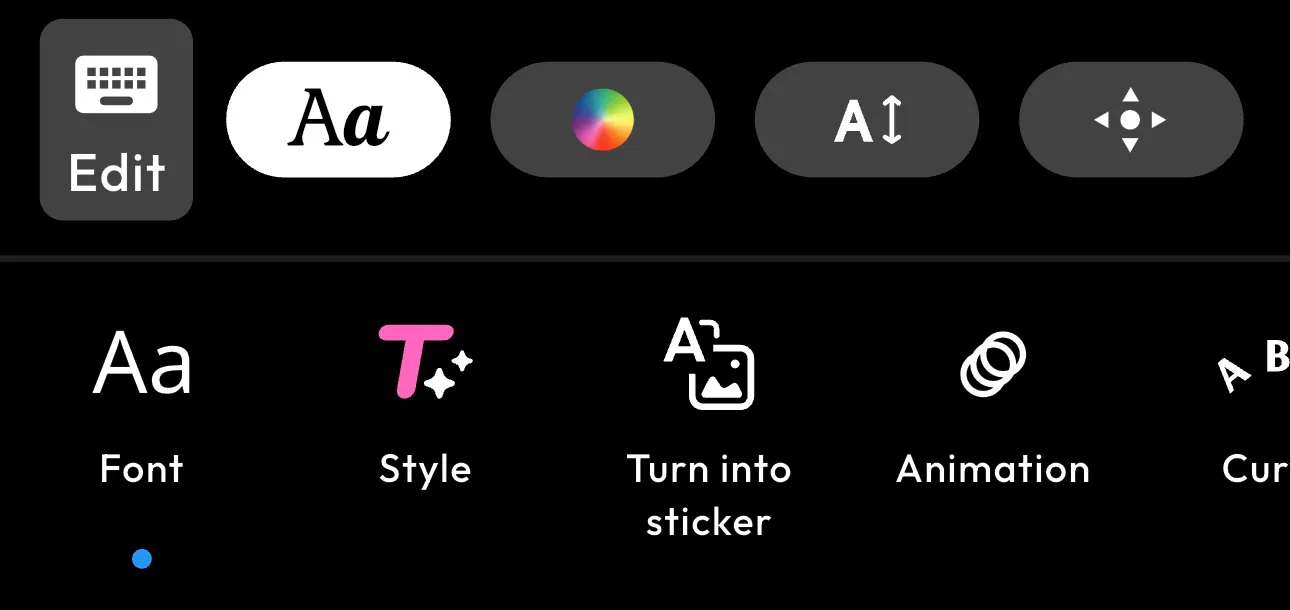

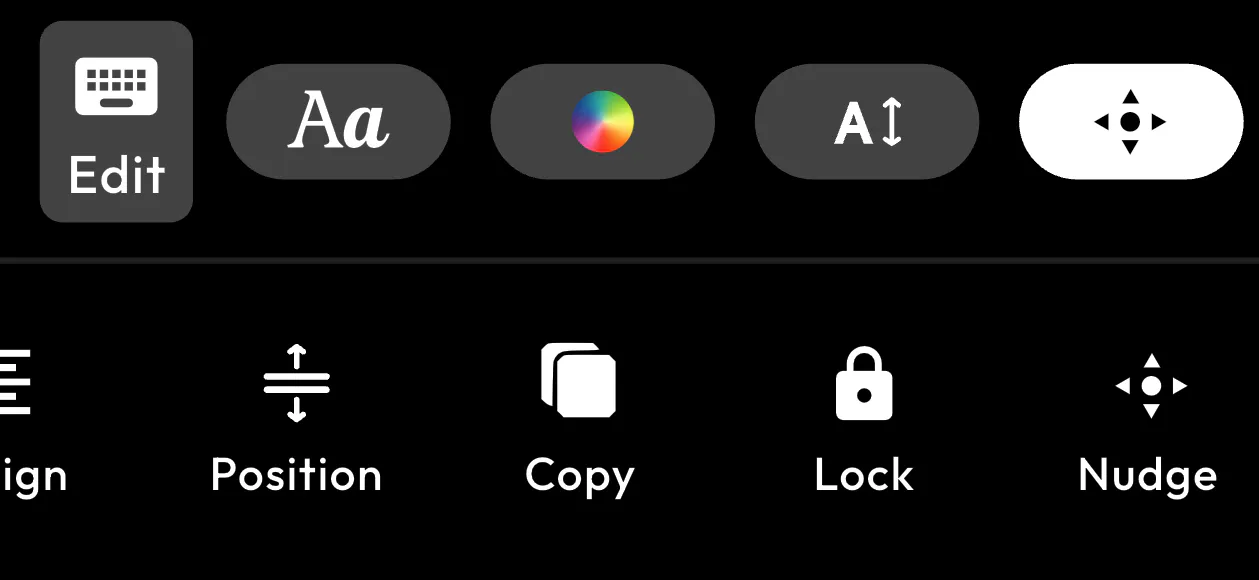
Here are all the key customization options available:
- Font Selection – Choose from different fonts like serif, sans-serif, or decorative styles to match your design
- Text Style – Apply styling such as bold, italic, or underline to emphasize important words
- Color Adjustment – Change text color to create contrast and improve visibility against the background
- Text Size – Increase or decrease size to create hierarchy and focus
- Alignment – Align text left, center, or right for better composition
- Positioning – Move text freely across the image to place it where it fits best
- Spacing – Adjust letter and line spacing for a cleaner and more readable layout
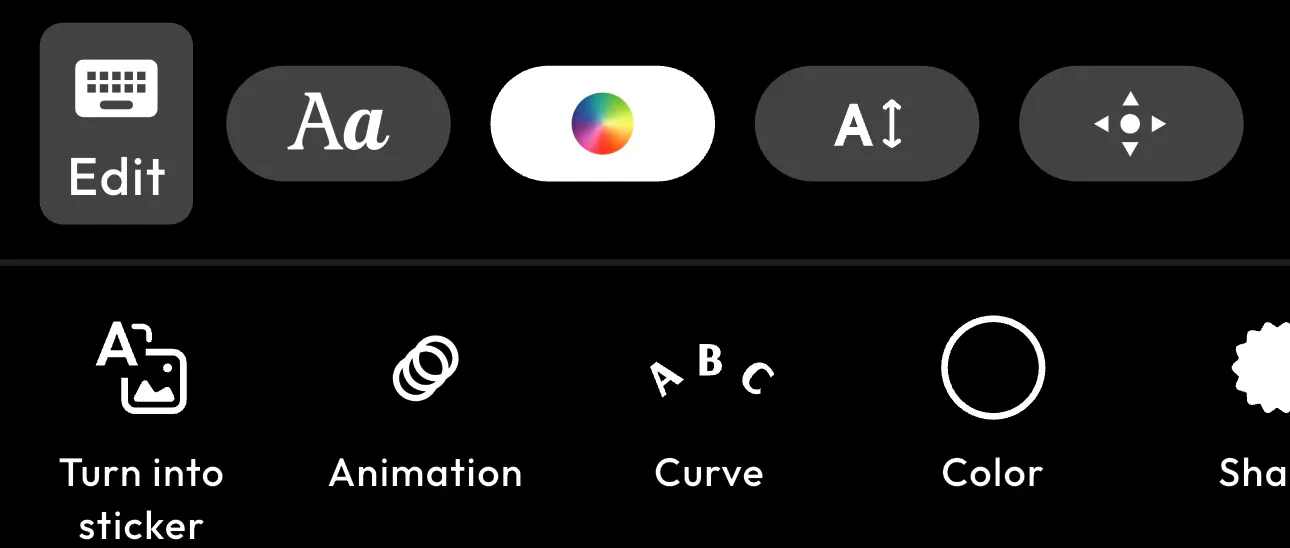
- Curve Text – Bend or curve text to follow shapes or add a creative effect
- Shape Background – Add shapes behind text to improve readability or highlight content
- Opacity Control – Adjust transparency for subtle or blended effects
- Layering – Position text above or below elements (used in advanced features like text behind image)
- Copy & Duplicate – Duplicate text layers to create consistent designs or effects
- Lock Element – Lock text in place to avoid accidental movement
- Nudge Controls – Fine-tune positioning with precise directional adjustments
These options are what separate basic edits from more refined designs.
Step 4: Save Your Edited Photo
Once you have finished customizing your text, the final step is to save your image. This ensures all your edits are preserved and ready to use.
Tap on the Done or Save option in BlendNow to export your edited photo. The image will be processed with all your text, styling, and positioning applied.
After saving, you can:
- Download the image to your device
- Share it directly on social media platforms
- Use it for thumbnails, posts, or personal projects
This step completes the process of how to add text to photo on iPhone, allowing you to turn your edited image into usable content.
This is the image I generated using Blend:

Conclusion
Learning how to add text to photo on iPhone is straightforward, but creating visually appealing results requires more than just basic tools. While the built-in Photos app provides a quick solution, it lacks the flexibility needed for more refined designs.
For users who want better control and more professional results, apps like Blend offer a more effective approach. Features such as customizable typography and the ability to place text behind image elements allow you to create content that stands out.
FAQs
How do I add text to a photo on iPhone for free?
You can use the built-in Photos app to add text for free using the markup tool. This method is simple but offers limited customization.
Can I add text to photos on iPhone without an app?
Yes, the default Photos app allows you to add text without installing additional apps. However, advanced design features are not available.
What is the best way to add text to photos on iPhone?
The best method depends on your needs. For quick edits, the built-in tool is sufficient. For more professional results, tools like BlendNow provide greater control and flexibility.
How can I add text to a photo on iPhone and make it look professional?
To achieve a professional look, use tools that offer font customization, precise alignment, and layering features such as text behind image.
How do you add text to photos on iPhone for social media?
For social media, focus on short, clear text and strong contrast. Thoughtful placement and design tools can help create more engaging visuals.